Fatal Baboons Monster Danger Tier List
Threat rankings for every Lab and Backrooms hunter after the revamp.
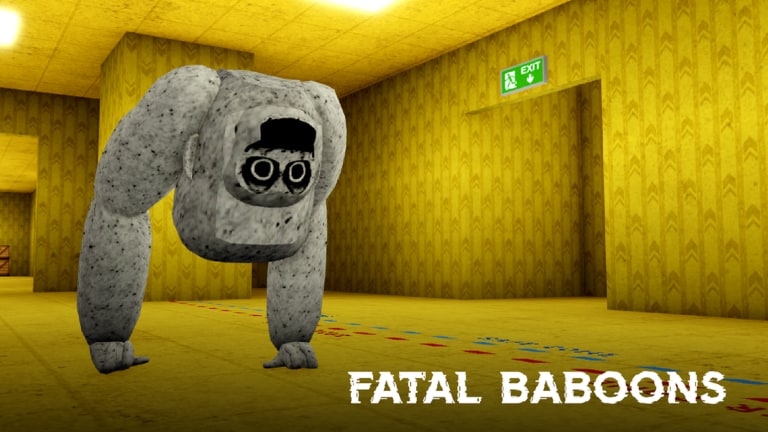
This Tier List Hub ranks Fatal Baboons monsters by how dangerous they feel in a normal public server after the November 2026 New Lab revamp. Tiers measure threat to an average squad, not raw jumpscare scare factor alone. Speed, detection rules, turning, and whether fightback (F) can save you all matter. For per-monster counters, open the detailed Monsters Tier Breakdown page.
Fatal Baboons by VertexLabs is a Roblox survival-escape horror loop: scavenge scrap, sell at the Scrap Recycler beside Abby’s Shop, respect Safe Zone borders, and survive Lab plus Backrooms entities with up to 20 players. Knowing who is S-tier threat keeps your scrap runs alive longer than memorizing lore names alone.
Ranking criteria
- Kill pressure: How often a first contact ends the run if you misplay.
- Detection unfairness: Sound radius, stare rules, mimic identity checks, light drain.
- Chase tools: Instant top speed vs ramp-up, spit slow, tall grab reach.
- Counter clarity: Whether stillness, jumping, corners, or fightback reliably work.
- Map presence: Lab corridors vs Backrooms elevators and open sightlines.
Cosmetic scariness without mechanical teeth ranks lower. A loud jumpscare that you can consistently dodge is B-tier threat; a quiet rule that deletes careless players is S-tier.
S tier - run-enders
Null (Backrooms) - Speed 54, effectively no turn penalty while rushing, freezes only while watched. Looking away for a camera flick is enough to eat a rush. Fightback works, and a successful escape grants about 30 seconds of immunity-but a second catch can kill. Highest skill ceiling and highest punishment.
Meater (Lab) - Fastest Lab sprinter at 40 with sharp cornering. If Meater sees you in a long hallway before you see them, fair kiting is rare. Spot first, break line of sight immediately.
Mimic (Backrooms) - Disguises as a player; chase lasts about 40 seconds once revealed. Social deduction tax in busy servers makes Mimic more dangerous than its 37 speed suggests. Always check faces before grouping up.
A tier - constant pressure
Bertha (Lab) - Instant 38 top speed, awkward turning (~60%). Jump or slam tight corners. Fightback is available against Bertha, which softens her rank versus Meater, but instant acceleration still deletes late reactions.
Brute (Lab) - Starts near 35 and ramps to 42 over ~5 seconds of uninterrupted chase. Jump over low swings and break LOS before the ramp completes. Heavy turning (~70%) helps if you juke early.
Meat (Backrooms) - Tall grabber; climbing will not save you. Fightback applies. Slightly slower (35) than Lab elites, but vertical “safe - habits from other horror games fail here.
B tier - manageable with discipline
John (Lab) - Blind sound hunter, detection out to roughly 145 studs. Pink screen means he is sprinting on your noise. Stand still or creep in short taps. Terrifying for loud squads, trivial for disciplined solos who respect silence.
Spitter (Lab) - Spits goo about every 5 seconds, applying roughly -20% speed for 4.5 seconds. The slow is the real threat-getting tagged before a Brute or Meater chase is a death sentence. Strafe spit, then reset to Safe Zone if slowed.
C tier - information warfare
Dimmer (Lab) - Drains nearby lights instead of winning pure footraces. Danger spikes in already dark wings and for players who rely on silhouette reads. Pair with other hunters he becomes A-tier support; alone he is C if you memorize layouts and scrap glow.
Quick tier table
| Tier | Monsters |
|---|---|
| S | Null, Meater, Mimic |
| A | Bertha, Brute, Meat |
| B | John, Spitter |
| C | Dimmer |
Tiers shift in Lockdown if VertexLabs retunes speeds or fightback eligibility. Re-check after patches and cross-read Survive Monsters, Backrooms, and Monster Stats.
How to use this list in a run
- Enter Danger Zones with an escape path toward a painted Safe Zone border.
- Prioritize audio discipline when John can be nearby.
- Never trust a “teammate - in Backrooms until you verify they are not Mimic.
- Keep camera awareness for Null; assign one player as watcher if stacked.
- If grabbed by a fightback-eligible threat, mash the F QTE-see Fightback.
- Sell scrap often (max 6, Crown = 50 coins) so deaths cost less-Scrap Farming.
New players should finish Getting Started before chasing S-tier challenge runs. For lore and jumpscare context that pairs with these ranks, the mid-page video compares older Scary Baboon presentation to the Fatal Baboons revamp cast.
Related hubs
- Detailed counters: Monsters
- Patch context: New Lab Revamp, Backrooms Update
- Codes status (still none): Codes
- Community habits: Players
Threat order is a living document. When Lockdown lands, expect this hub’s S-tier row to move first.
Frequently Asked Questions
Quick answers to the most common questions.
What does S tier mean on this list?
S-tier monsters end runs most often for average squads because of speed, detection rules, or identity tricks-Null, Meater, and Mimic lead that group after the revamp.
Can I fight back against every monster?
No. Fightback (F) is confirmed for threats like Null, Bertha, and Meat. Others still require pure evasion. See the Fightback guide for the full notes.
Why is John only B tier if he is scary?
John is devastating if your squad is loud, but stillness and short movement taps counter him reliably. Mechanical fairness keeps him below Null and Meater.
Where are detailed counters for each monster?
Open the Monsters page under this hub for per-entity strategies, then cross-link Survive Monsters and Backrooms guides.
Will Lockdown change the tier list?
Very likely. Retuned speeds, new entities, or fightback rules will reshuffle ranks. Recheck this hub after the update ships.